Oracle Data Guard ensures high availability, data protection, and disaster recovery for enterprise data. Oracle Data Guard provides a comprehensive set of services that create, maintain, manage, and monitor one or more standby databases to enable production Oracle databases to survive disasters and data corruptions. Oracle Data Guard maintains these standby databases as copies of the production database.Then, if the production database becomes unavailable because of a planned or an unplanned outage, Oracle Data Guard can switch any standby database to the production role, minimizing the downtime associated with the outage. Oracle Data Guard can be used with traditional backup, restoration, and cluster techniques to provide a high level of data protection and data availability.
With Oracle Data Guard, administrators can optionally improve production database performance by offloading resource-intensive backup and reporting operations to standby systems.
Types of standby databases are Physical standby database, Logical standby database and Snapshot standby database.
I will demonstrate Physical standby database as working real time apply at this document. Most used type is Physical standby database type. You can investigate other types of standby database from Oracle docs.

I used Oracle RAC database as primary side and I used single instance database with asm file system as secondary side (Data Guard).
Firstly, you have to adjust system parameters of operating system on secondary side and create asm disks. After, you can start to install of grid infrastructure. You can create disk groups for DATA and FRA disk groups after install grid. After grid installation, you can install Oracle Data Guard database on grid infrastructure and ASM disks as software only. Finally you can restore and recover standby database from primary side and you can start synchronization apply after add standby redo log. I divide the stages of installation five steps.
You can find primary side (Oracle 12c RAC) installation steps here. I will use this infrastructure as primary side.
First Step : Configure Operation System on Secondery Side
1. Upgrade Packages
yum upgrade
yum install oracleasm-support
2. Selinux Disable
You can do disabled or permissive
vi /etc/selinux/config
SELINUX=disabled
3. Firewall Close and Disable
You can open after installation,but you have to give permission to necessary ports and services.
systemctl stop firewalld.service
systemctl disable firewalld.service
4. Create Users
groupadd –g 501 oinstall
groupadd –g 502 dba
groupadd –g 503 oper
groupadd –g 504 asmadmin
groupadd –g 505 asmdba
groupadd –g 506 asmoper
useradd –u 502 –g oinstall –G dba,asmdba,oper oracle
passwd oracle
useradd –u 501 –g oinstall –G asmadmin,asmoper,asmdba grid
passwd grid
5. Configure Bash Profile of Users
Oracle User
vi .bash_profile
# Oracle Settings
export TMP=/tmp
export TMPDIR=$TMP
export ORACLE_HOSTNAME=test12cdg.yourdomain
export ORACLE_UNQNAME=TDG
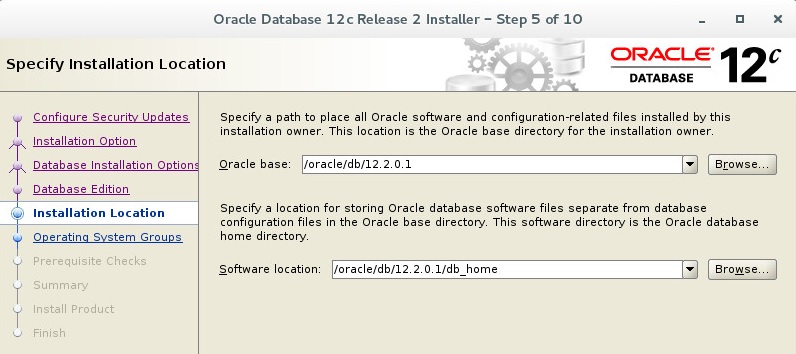
export ORACLE_BASE=/oracle/db/12.2.0.1
export DB_HOME=$ORACLE_BASE/db_home
export ORACLE_HOME=$DB_HOME
export ORACLE_SID=TDG
export ORACLE_TERM=xterm
export BASE_PATH=/usr/sbin:$PATH
export PATH=$ORACLE_HOME/bin:$BASE_PATH
export LD_LIBRARY_PATH=$ORACLE_HOME/lib:/lib:/usr/lib
export CLASSPATH=$ORACLE_HOME/JRE:$ORACLE_HOME/jlib:$ORACLE_HOME/rdbms/jlib
alias sql=’sqlplus / as sysdba’
PATH=$PATH:$HOME/.local/bin:$HOME/bin
export PATH
Grid User
# Oracle Settings
export TMP=/tmp
export TMPDIR=$TMP
export ORACLE_HOSTNAME=test12cdg.yourdomain
export ORACLE_UNQNAME=TDG
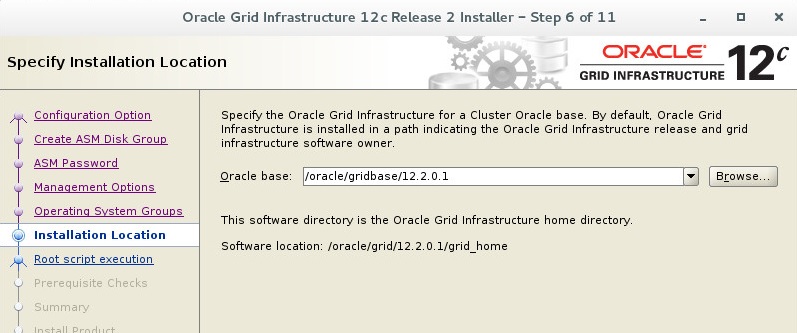
export ORACLE_BASE=/oracle/gridbase/12.2.0.1
export GRID_BASE=/oracle/gridbase/12.2.0.1
export GRID_HOME=/oracle/grid/12.2.0.1/grid_home
export ORACLE_HOME=/oracle/grid/12.2.0.1/grid_home
export ORACLE_SID=+ASM
export ORACLE_TERM=xterm
export BASE_PATH=/usr/sbin:$PATH
export PATH=$ORACLE_HOME/bin:$BASE_PATH
export LD_LIBRARY_PATH=$ORACLE_HOME/lib:/lib:/usr/lib
export CLASSPATH=$ORACLE_HOME/JRE:$ORACLE_HOME/jlib:$ORACLE_HOME/rdbms/jlib
alias sql=’sqlplus / as sysasm’
PATH=$PATH:$HOME/.local/bin:$HOME/bin
export PATH
6. Create Directories
mkdir -p /oracle/grid/12.2.0.1/grid_home
mkdir -p /oracle/grid/12.2.0.1/log
mkdir -p /oracle/gridbase/12.2.0.1/
mkdir -p /oracle/db/12.2.0.1/db_home
chown -R oracle.oinstall /oracle/
chown -R grid.oinstall /oracle/grid*
chmod -R 775 /oracle/
7. Configure ASM Disks
*Your disk name can be different from I used. I configured sdc, sdd,sde disks for asm on my test suite. These sd* disks can be different on your system.
with root user.
oracleasm configure -i
Answers of Questions;
grid
asmadmin
y
y
After finish configuration you can make init with below command.
oracleasm init
Create partition.
fdisk /dev/sdc
fdisk /dev/sdd
fdisk /dev/sde
oracleasm createdisk DATA1 /dev/sdc1
oracleasm createdisk FRA1 /dev/sdd1
oracleasm createdisk GRID1 /dev/sde1
You can use scandisks and listdisks to control.
oracleasm scandisks
oracleasm listdisks
8. Configure Passwordless SSH Connection
You have to configure ssh passwordless connection. Oracle and Grid user of primary and secondary side have to connect each other passwordless.
You can find how to do this step here.
9. Chrony NTP Configuration
Chrony plugin came with Oracle Linux 7 version for ntp sync. You can write your ntp server information in /etc/chrony.conf file.
vi /etc/chrony.conf
server ntp.yourdomain
systemctl restart chronyd.service
systemctl enable chronyd.service
10. Configure Hosts File
You can write your domain name info instead of yourdomain text. Also, you can give IP addresses as your IP structure. You have to write IP and domain information to /etc/hosts file if you do not use dns server.
You have to add “40.50.60.100 tdg tdg.yourdomain” line on primary side. 40.50.60.100 IP address is our data guard server IP address.
vi /etc/hosts
20.10.4.141 ractest12c01 ractest12c01.yourdomain
20.10.4.142 ractest12c02 ractest12c02.yourdomain
20.10.4.143 ractest12c01-vip ractest12c01-vip.yourdomain
20.10.4.144 ractest12c02-vip ractest12c02-vip.yourdomain
20.10.4.145 ractest12c-scan ractest12c-scan.yourdomain
20.10.4.146 ractest12c-scan ractest12c-scan.yourdomain
20.10.4.147 ractest12c-scan ractest12c-scan.yourdomain
40.50.60.100 test12cdg test12cdg.yourdomain
11. DNS Register (optional)
You can configure dns information of nodes in /etc/resolf.conf file.
12. Preinstallation Package Intallation
yum install oracle-database-server-12cR2-preinstall
reboot
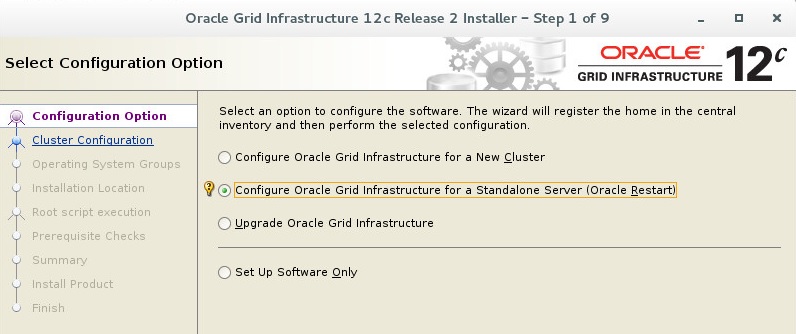
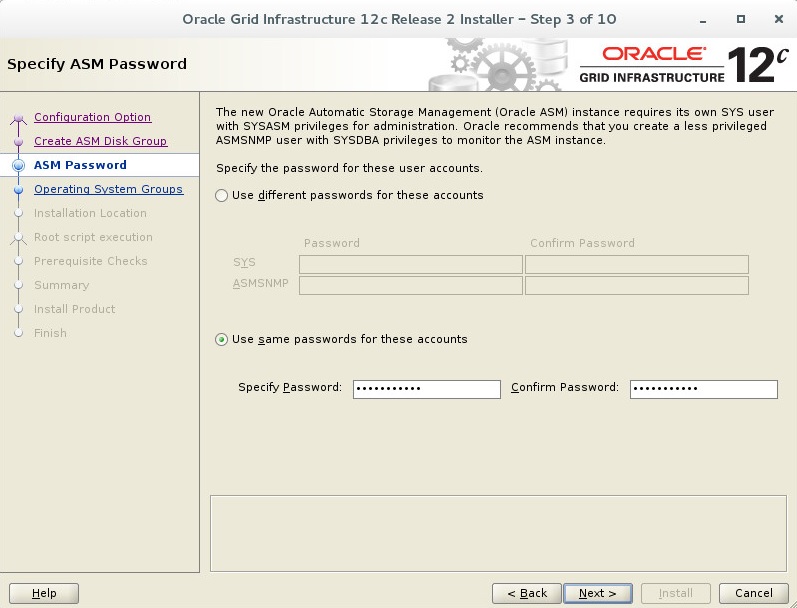
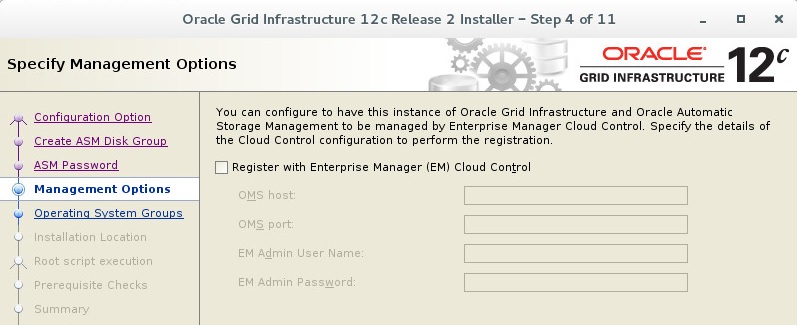
Second Step : Install Grid Infrastructure
You have to copy your grid installation files to grid_home. I recommend that you copy grid zip file to grid home and change owner of zip file, and unzip with grid user.
Copy and Unzip Grid Files
cp linuxx64_12201_grid_home.zip /oracle/grid/12.2.0.1/grid_home
chown grid.oinsall linuxx64_12201_grid_home.zip
su – grid
unzip linuxx64_12201_grid_home.zip
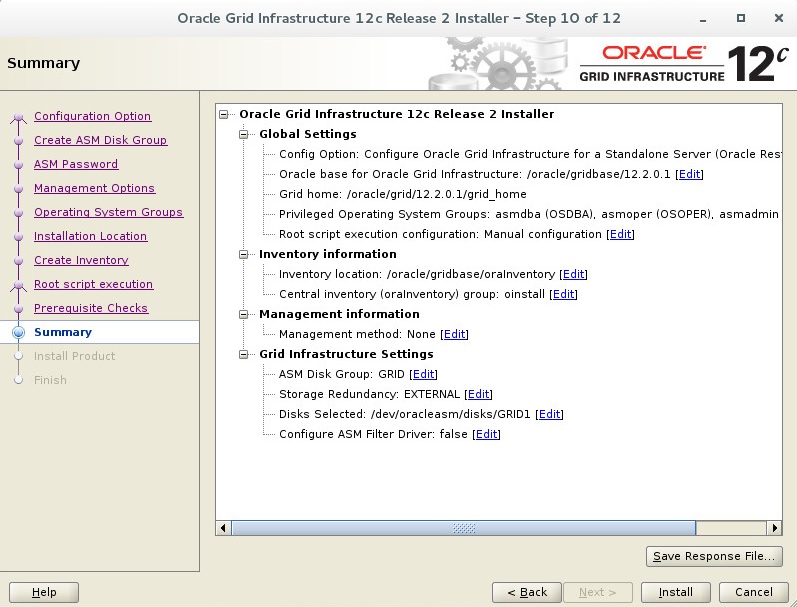
Display Config and Start Grid Installation
su –
export DISPLAY=:0.0
xhost +
su – grid
export DISPLAY=:0.0
xhost +
cd /$GRID_HOME/
./grid_Setup.sh

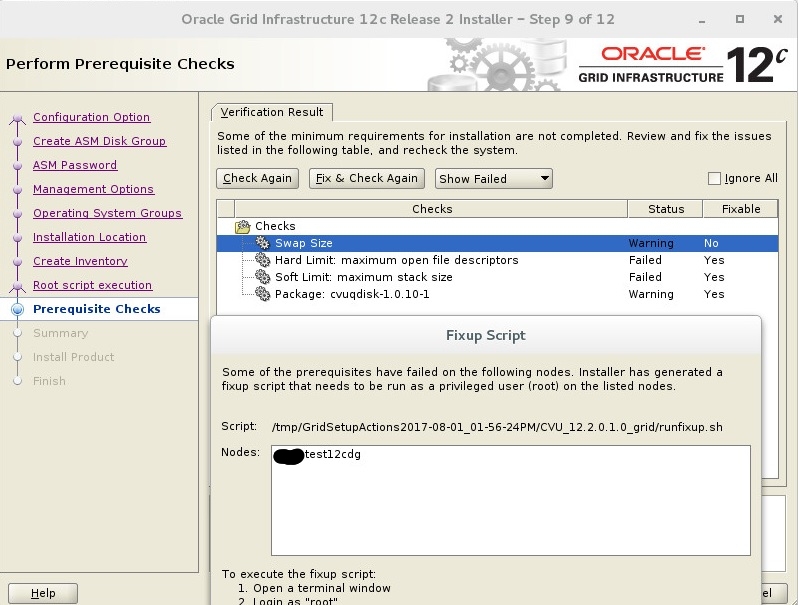
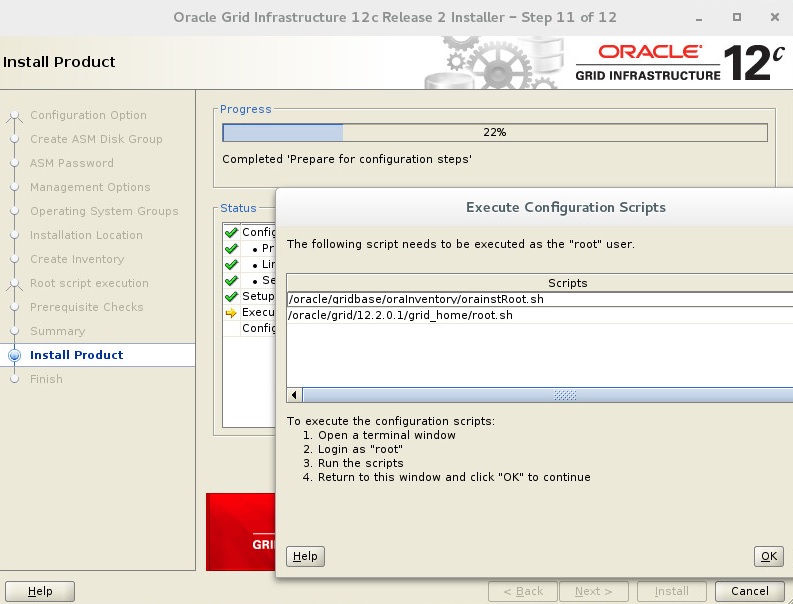
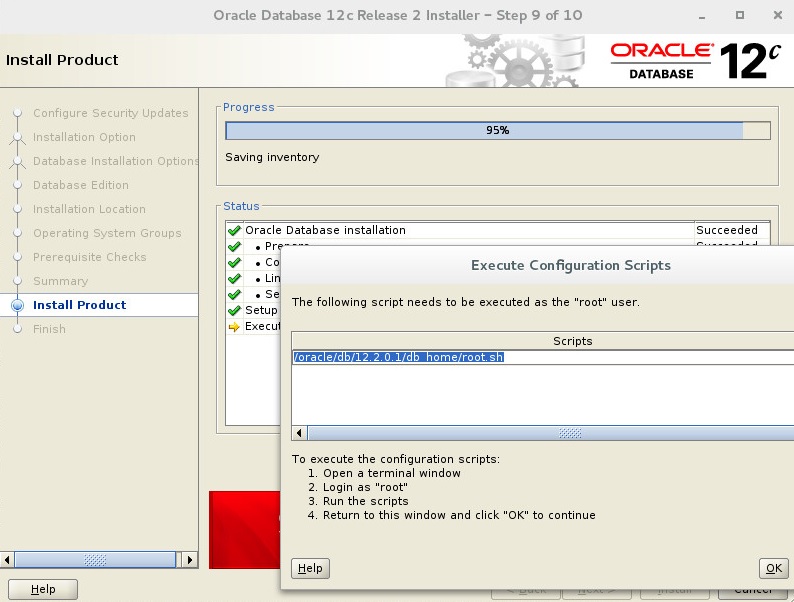
Fix & Check Again button creates fix scripts to resolve warnings. You have to run this scripts to resolve warnings.

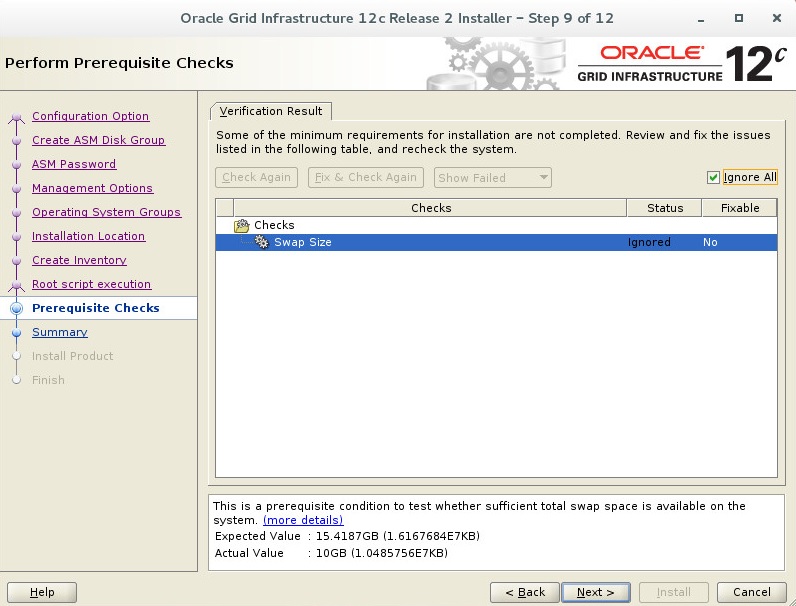
You have to run this scripts respectively. The run can be a bit long. You can click OK, after run scripts. If you do not get an error, you can continue.
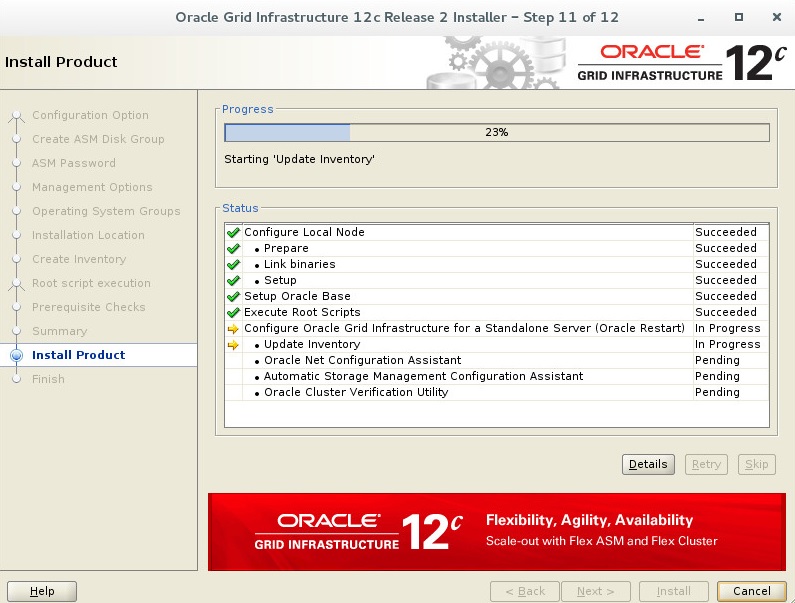
You can check your grid status with crs_stat -t and crsctl stat res -t commands with grid user.
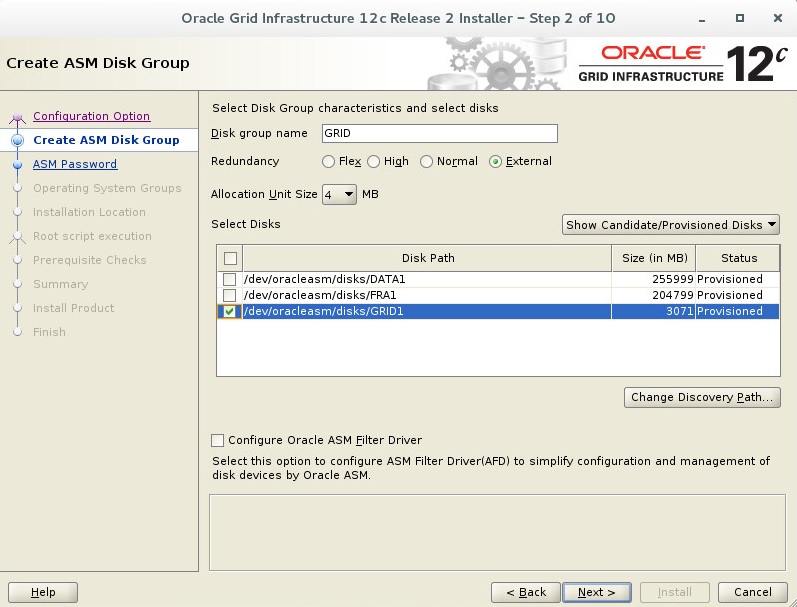
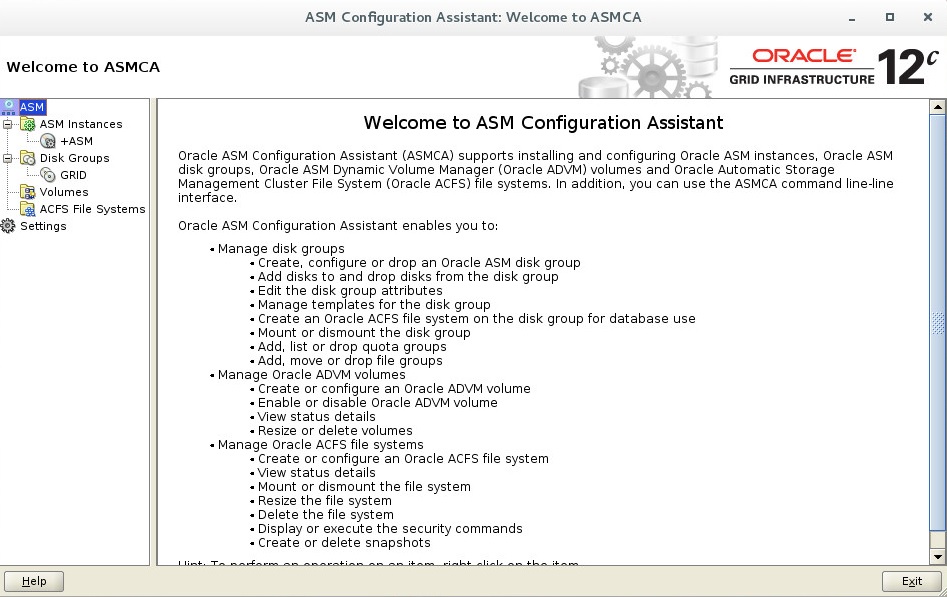
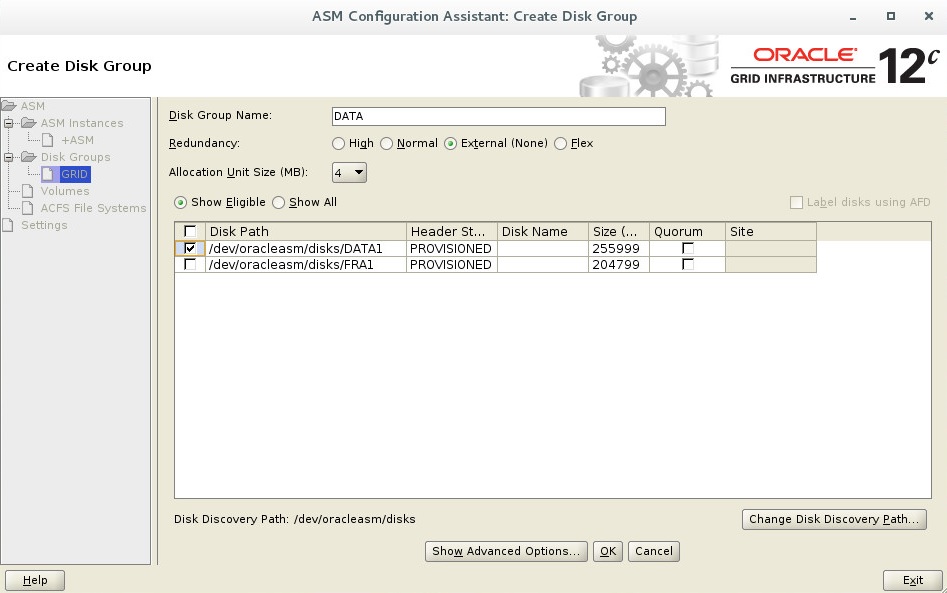
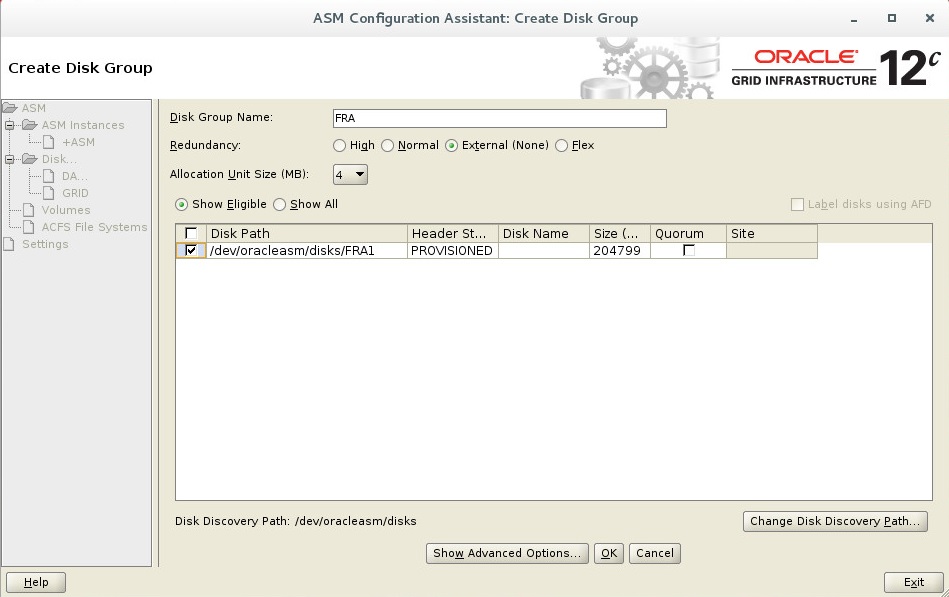
Third Step : Create ASM Disk Group For DATA and FRA
Display Config and Start ASMCA
su –
export DISPLAY=:0.0
xhost +
su – grid
export DISPLAY=:0.0
xhost +
asmca

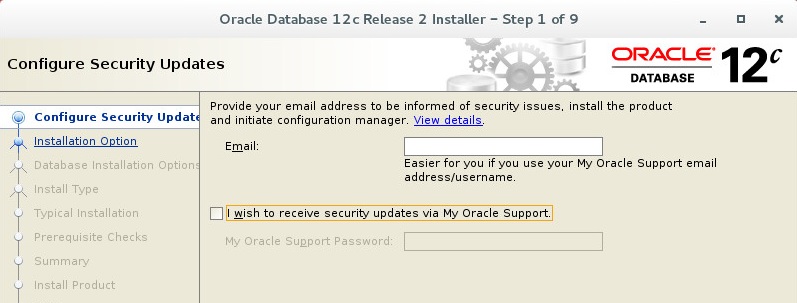
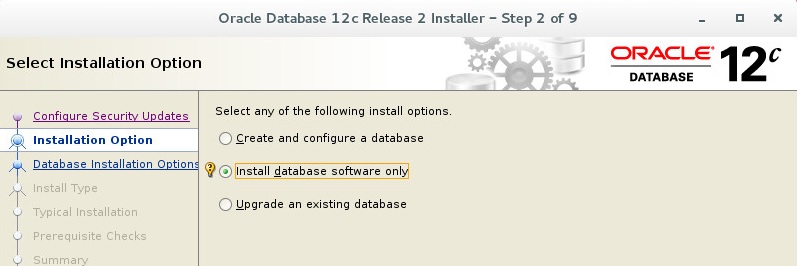
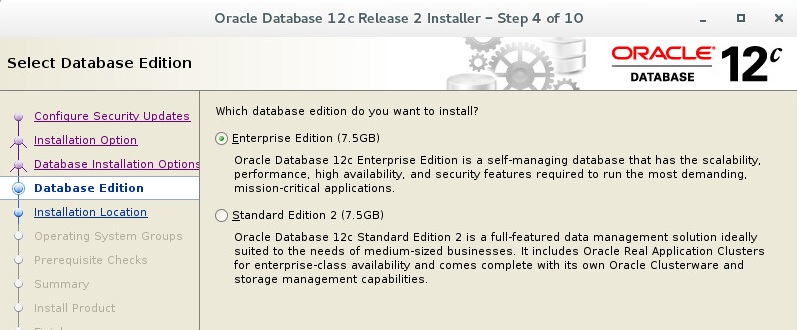
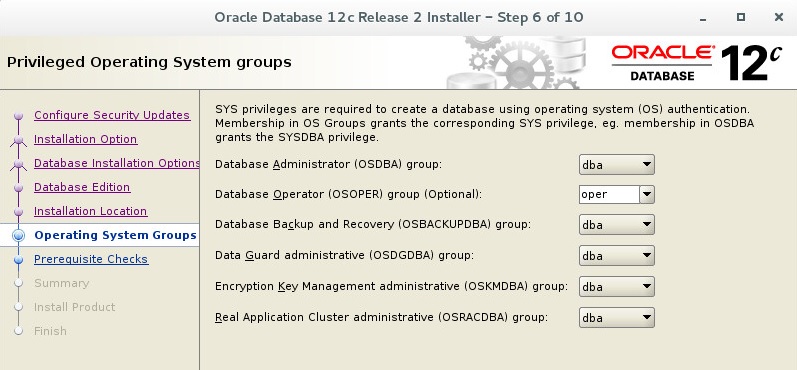
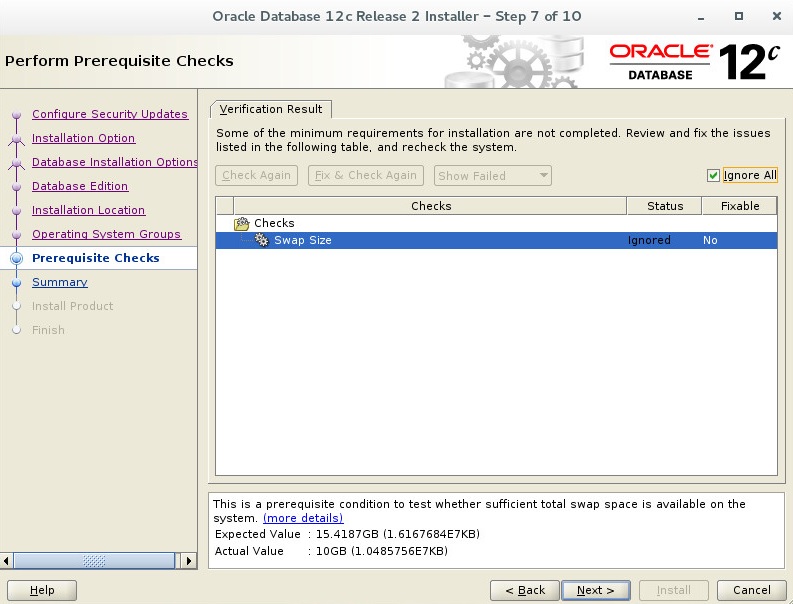
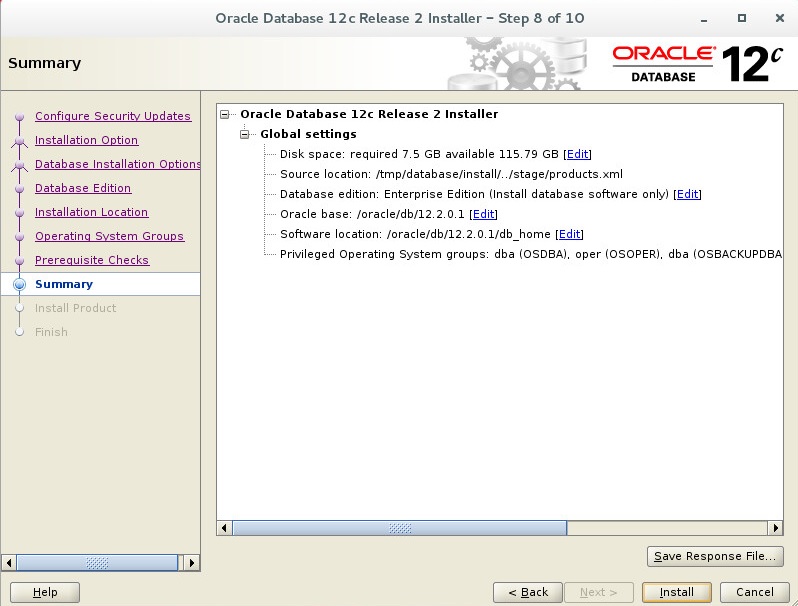
Fourth Step : Install Database as Software Only
You can unzip database file under /tmp/ and you have to give permission oracle user.
chown oracle.oinstall -R /tmp/database/
Display Config and Start Database Installation
su –
export DISPLAY=:0.0
xhost +
su – oracle
export DISPLAY=:0.0
xhost +
cd /tmp/database/
./runInstaller

Fifth Step : Restore Database And Synchronize
Now, we have to configure primary and secondary side to data transport for data guard.
1. Listener Configuration
I use different port to connect of primary side and secondary side.
Primary Side Rac Node 1
su – oracle
cd $ORACLE_HOME/network/admin
vi listener.ora
listener_dr_for_arch_test =
(ADDRESS_LIST =
(ADDRESS= (PROTOCOL= TCP)(Host= ractest12c01-vip.sm.gov.tr)(Port= 1545))
)
SID_LIST_listener_dr_for_arch_test =
(SID_LIST =
(SID_DESC =
(ORACLE_HOME= /oracle/db/12.2.0.1/db_home)
(SID_NAME = RACTEST1)
)
)
Start Listener
lsnrctl start listener_dr_for_arch_test
Primary Side Rac Node 2
su – oracle
cd $ORACLE_HOME/network/admin
vi listener.ora
listener_dr_for_arch_test =
(ADDRESS_LIST =
(ADDRESS= (PROTOCOL= TCP)(Host= ractest12c02-vip.sm.gov.tr)(Port= 1545))
)
SID_LIST_listener_dr_for_arch_test =
(SID_LIST =
(SID_DESC =
(ORACLE_HOME= /oracle/db/12.2.0.1/db_home)
(SID_NAME = RACTEST2)
)
)
Start Listener
lsnrctl start listener_dr_for_arch_test
Secondary Side
su – oracle
cd $ORACLE_HOME/network/admin
vi listener.ora
listener_dr_for_arch_test =
(ADDRESS_LIST =
(ADDRESS= (PROTOCOL= TCP)(Host = test12cdg.sm.gov.tr)(Port= 1545))
)
SID_LIST_listener_dr_for_arch_test =
(SID_LIST =
(SID_DESC =
(ORACLE_HOME= /oracle/db/12.2.0.1/db_home)
(SID_NAME = TDG)
)
)
Start Listener
lsnrctl start listener_dr_for_arch_test
2. Tnsnames Configuration
Primary Side Rac Node 1
su – oracle
vi tnsnames.ora
RACTEST =
(DESCRIPTION =
(ADDRESS = (PROTOCOL = TCP)(HOST = ractest12c-scan)(PORT = 1521))
(CONNECT_DATA =
(SERVER = DEDICATED)
(SERVICE_NAME = RACTEST)
)
)
RACTEST1 =
(DESCRIPTION =
(ADDRESS = (PROTOCOL = TCP)(HOST = ractest12c01-vip)(PORT = 1521))
(CONNECT_DATA =
(SERVER = DEDICATED)
(SERVICE_NAME = RACTEST)
)
)
RACTEST2 =(DESCRIPTION =
(ADDRESS = (PROTOCOL = TCP)(HOST = ractest12c02-vip)(PORT = 1521))
(CONNECT_DATA =
(SERVER = DEDICATED)
(SERVICE_NAME = RACTEST)
)
)
DG_TEST =
(DESCRIPTION =
(ADDRESS = (PROTOCOL = TCP)(HOST = test12cdg.sm.gov.tr)(PORT = 1545))
(CONNECT_DATA =
(SERVER = DEDICATED)
(SERVICE_NAME = TDG)
)
)
PRI_TEST =
(DESCRIPTION =
(ADDRESS = (PROTOCOL = TCP)(HOST = ractest12c01-vip.sm.gov.tr)(PORT = 1545))
(CONNECT_DATA =
(SERVER = DEDICATED)
(SERVICE_NAME = RACTEST)
)
)
Primary Side Rac Node 2
su – oracle
vi tnsnames.ora
RACTEST =
(DESCRIPTION =
(ADDRESS = (PROTOCOL = TCP)(HOST = ractest12c-scan)(PORT = 1521))
(CONNECT_DATA =
(SERVER = DEDICATED)
(SERVICE_NAME = RACTEST)
)
)
RACTEST1 =
(DESCRIPTION =
(ADDRESS = (PROTOCOL = TCP)(HOST = ractest12c01-vip)(PORT = 1521))
(CONNECT_DATA =
(SERVER = DEDICATED)
(SERVICE_NAME = RACTEST)
)
)
RACTEST2 =
(DESCRIPTION =
(ADDRESS = (PROTOCOL = TCP)(HOST = ractest12c02-vip)(PORT = 1521))
(CONNECT_DATA =
(SERVER = DEDICATED)
(SERVICE_NAME = RACTEST)
)
)
DG_TEST =
(DESCRIPTION =
(ADDRESS = (PROTOCOL = TCP)(HOST = test12cdg.sm.gov.tr)(PORT = 1545))
(CONNECT_DATA =
(SERVER = DEDICATED)
(SERVICE_NAME = TDG)
)
)
PRI_TEST =
(DESCRIPTION =
(ADDRESS = (PROTOCOL = TCP)(HOST = ractest12c01-vip.sm.gov.tr)(PORT = 1545))
(CONNECT_DATA =
(SERVER = DEDICATED)
(SERVICE_NAME = RACTEST)
)
)
Secondary Side
su – oracle
cd $ORACLE_HOME/network/admin
vi tnsnames.ora
RACTEST =
(DESCRIPTION =
(ADDRESS = (PROTOCOL = TCP)(HOST = ractest12c-scan.sm.gov.tr)(PORT = 1521))
(CONNECT_DATA =
(SERVER = DEDICATED)
(SERVICE_NAME = RACTEST)
)
)
PRI_TEST =
(DESCRIPTION =
(ADDRESS = (PROTOCOL = TCP)(HOST = ractest12c01-vip.sm.gov.tr)(PORT = 1545))
(CONNECT_DATA =
(SERVER = DEDICATED)
(SID=RACTEST1)
)
)
DG_TEST =
(DESCRIPTION =
(ADDRESS = (PROTOCOL = TCP)(HOST = test12cdg.sm.gov.tr)(PORT = 1545))
(CONNECT_DATA =
(SERVER = DEDICATED)
(SERVICE_NAME = TDG)
)
)
3. Archivelog Mode
Primary has to be archivelog mode.
You can check current status of archivelog mode with below query.
select log_mode from gv$database;
If write NOARCHIVELOG, you have to do below operation to do ARCHIVELOG mode.
srvctl stop database -d RACTEST
sqlplus / as sysdba
startup mount;
alter database archivelog;
alter database force logging;
alter database open;
4. Force Logging
You have to do force logging to log every thing.
alter database force logging;
5. Configure Parameters
You have to configure parameter to data guard.
Primary Side
sqlplus / as sysdba
alter system set log_archive_format=’%t_%s_%r.arc’ scope=spfile sid=’*’;
alter system set remote_login_passwordfile=EXCLUSIVE scope=spfile sid=’*’;alter system set log_archive_dest_1=’location=+FRA/RACTEST/ARCHIVELOG’ scope=both sid=’*’;
DB Name can be max 8 characters
alter system set log_archive_config=’DG_CONFIG=(RACTEST,TDG)’ scope=both sid=’*’;
alter system set log_archive_dest_2=’SERVICE=DG_TEST LGWR ASYNC VALID_FOR=(ONLINE_LOGFILES,PRIMARY_ROLE) DB_UNIQUE_NAME=TDG’ scope=both sid=’*’;
alter system set standby_file_management=AUTO scope=both sid=’*’;
alter system set log_archive_dest_state_2=enable scope=both sid=’*’;
alter system set fal_client= PRI_TEST scope=both sid=’*’;
alter system set fal_server= DG_TEST scope=both sid=’*’;
exit;
srvctl stop database -d RACTEST
srvctl start database -d RACTEST
5. Take Backup
Take backup from primary side and move to secondary side. I used /backup directory to take backup and use secondary side backup directory. Backup dir has to be the same on primary side and secondary side.
rman target /
delete archivelog all;
run {
ALLOCATE CHANNEL d1 TYPE DISK FORMAT ‘/backup/backup_pri_%d_s%s_p%p_%T’ ;
backup as compressed backupset database plus archivelog;
backup current controlfile for standby format ‘/backup/controlfile_standby.ctl’ ;
release channel d1;
}exit;
sqlplus / as sysdba
create pfile=’/backup/pfile.ora’ from spfile;
exit;
Move backup files
cd /backup/
scp backup* oracle@test12cdg:/backup/
scp controlfile_standby.ctl oracle@test12cdg:/backup/
scp file.ora oracle@test12cdg:/backup/
6. Configure Pfile to Data Guard on Secondary Side
You have to configure pfile.ora file to data guard for secondary side. You can see configured pfile.ora at below.
vi pfile.ora
*.__data_transfer_cache_size=0
*.__db_cache_size=3657433088
*.__inmemory_ext_roarea=0
*.__inmemory_ext_rwarea=0
*.__java_pool_size=16777216
*.__large_pool_size=83886080
*.__oracle_base=’/oracle/db/12.2.0.1’#ORACLE_BASE set from environment
*.__pga_aggregate_target=1660944384
*.__sga_target=4982833152
*.__shared_io_pool_size=251658240
*.__shared_pool_size=956301312
*.__streams_pool_size=0
*.audit_file_dest=’/oracle/db/12.2.0.1/admin/TDG/adump’
*.audit_trail=’db’
*.cluster_database=false
*.compatible=’12.2.0′
*.control_files=’+DATA/TDG/CONTROLFILE/current.262.950370543′,’+DATA/TDG/CONTROLFILE/current.261.950370543′
*.db_block_size=8192
*.db_create_file_dest=’+DATA’
*.db_name=’RACTEST’
*.db_unique_name=’TDG’
*.db_recovery_file_dest=’+FRA’
*.db_recovery_file_dest_size=214748364800
*.diagnostic_dest=’/oracle/db/12.2.0.1′
*.dispatchers='(PROTOCOL=TCP) (SERVICE=TDGXDB)’
*.fal_client=’DG_TEST’
*.fal_server=’PRI_TEST’
*.local_listener=’-oraagent-dummy-‘
*.log_archive_config=’DG_CONFIG=(RACTEST,TDG)’
*.log_archive_dest_1=’location=+FRA/TDG/ARCHIVELOG’
*.log_archive_dest_2=’SERVICE=PRI_TEST LGWR ASYNC VALID_FOR=(ONLINE_LOGFILES,PRIMARY_ROLE) DB_UNIQUE_NAME=RACTEST’
*.log_archive_dest_state_2=’DEFER’
*.log_archive_format=’%t_%s_%r.arc’
*.db_file_name_convert=’+DATA/RACTEST/DATAFILE’,’+DATA/TDG/DATAFILE’,’+FRA/RACTEST/DATAFILE’,’+FRA/TDG/DATAFILE’
*.log_file_name_convert=’+DATA/RACTEST/ONLINELOG’,’+DATA/TDG/ONLINELOG’,’+FRA/RACTEST/ONLINELOG’,’+FRA/TDG/ONLINELOG’
*.nls_language=’AMERICAN’
*.nls_territory=’AMERICA’
*.open_cursors=300
*.pga_aggregate_target=1579m
*.processes=640
*.remote_login_passwordfile=’EXCLUSIVE’
*.sga_target=4737m
*.standby_file_management=’AUTO’
*.undo_tablespace=’UNDOTBS1′
7. Create Spfile from Pfile
You can create spfile from pfile.ora at secondary side.
sqlplus / as sysdba
create spfile from pfile=’/backup/pfile.ora’;
startup nomount;
8. Restore Database
Method 1
Secondary side
rman target /
restore standby controlfile from ‘/backup/controlfile_standby.ctl’;
alter database mount standby database;
restore database;
Method 2
Secondary side
rman target sys@PRI_TEST auxiliary sys@DG_TEST
target database Password:
connected to target database: RACTEST (DBID=1915123103)
auxiliary database Password:
connected to auxiliary database: RACTEST (not mounted)
duplicate target database for standby from active database dorecover nofilenamecheck;
9. Check Error Logs
After restore operation, if you see error logs like below, you have to do switch operation like below.
tail -100f /oracle/db/12.2.0.1/diag/rdbms/tdg/TDG/trace/alert_TDG.log
Error example:
WARNING: The converted filename ‘+DATA/TDG/datafile/users.260.950370491’
is an ASM fully qualified filename.
Changing the filename to ‘+DATA/MUST_RENAME_THIS_DATAFILE_7.4294967295.4294967295’.
Please rename it accordingly.Solution:
sqlplus / as sysdba
alter system set standby_file_management=MANUAL;
exit;
You have to check datafile number from alert log, and you have to check datafiles.
rman target /
run{
set newname for datafile 1 to ‘+DATA/TDG/DATAFILE/SYSTEM.293.953893449’;
set newname for datafile 3 to ‘+DATA/TDG/DATAFILE/SYSAUX.292.953893449’;
set newname for datafile 4 to ‘+DATA/TDG/DATAFILE/UNDOTBS1.267.953893449’;
set newname for datafile 5 to ‘+DATA/TDG/DATAFILE/UNDOTBS2.291.953893449’;
set newname for datafile 7 to ‘+DATA/TDG/DATAFILE/USERS.294.953893451’;
switch datafile all;
}exit;
sqlplus / as sysdba
alter system set standby_file_management=AUTO;
shutdown immediate;
startup mount;
10. Add Standby Log File
You have to add standby log file both on primary side and secondary side to real time apply synchronization.
You have to add one more number standby log than normal logfile.
You can see log file with below query.
Primary side
select * from gv$logfile;
If you see 4 logfile (default number), you can add 5 standby logfile and size has to be the same. You can see size with bwlow query.
select * from gv$log;
Also, you read this article to see how to add and drop standby log files.
Primary side
alter database add standby logfile size 200M;
alter database add standby logfile size 200M;
alter database add standby logfile size 200M;
alter database add standby logfile size 200M;
alter database add standby logfile size 200M;
Secondary side
alter database add standby logfile size 200M;
alter database add standby logfile size 200M;
alter database add standby logfile size 200M;
alter database add standby logfile size 200M;
alter database add standby logfile size 200M;
11. Start Synchronization
Secondary side
sqlplus / as sysdba
alter database open read only;
alter database recover managed standby database using current logfile disconnect from session;
12. Check Synchronization
Secondary side
Check alert log
tail -100f /oracle/db/12.2.0.1/diag/rdbms/tdg/TDG/trace/alert_TDG.log
Check query
sqlplus / as sysdba
select open_mode, database_role, protection_mode from gv$database;
READ ONLY WITH APPLY | PHYSICAL STANDBY | MAXIMUM PERFORMANCE
Primary side
select * from v$dataguard_status order by timestamp desc
alter system set log_archive_dest_state_2 = ENABLE
select * from gv$archive_dest_status where dest_id in (1,2)
SELECT a.name,a.resetlogs_id, DECODE (a.thread#, 1, ‘RAC NODE1’, ‘RAC NODE2’) HOST, b.last_seq son_olusan,
a.applied_seq son_uygulanan, TO_CHAR (a.uygulanan_son_zaman, ‘dd/mm/yyyy hh24:mi:ss’) son_uygulama_zamani
FROM (SELECT name,resetlogs_id, thread#, MAX (sequence#) applied_seq, MAX (next_time) uygulanan_son_zaman
FROM gv$archived_log
WHERE applied = ‘YES’ and name in (‘DG_TEST’) and resetlogs_id=(select max(resetlogs_id) from gv$archived_log)
GROUP BY name,resetlogs_id, thread# ) a,
(SELECT name,resetlogs_id, thread#, MAX (sequence#) last_seq
FROM gv$archived_log where name in (‘DG_TEST’) and resetlogs_id=(select max(resetlogs_id) from gv$archived_log)
GROUP BY name,resetlogs_id, thread# ) b
WHERE a.thread# = b.thread#
and a.name = b.name;
13. Post Installation
Secondary side
If you have grid user to manage listener, you have to give permission on $ORACLE_HOME/bin/oracle executable file. You have to give chmod 6751 permission. This provides that grid user can execute oracle file like oracle user. Oracle open process on OS when you connect to database. If you connect from remote with using listener, listener owner (grid) will want to open new process on OS but grid user cannot open process with using $ORACLE_HOME/bin/oracle file due to do not have permission. So you have to give 6751 permission to use $ORACLE_HOME/bin/oracle file.
[root@tdg bin] cd $ORACLE_HOME/bin/
[root@tdg bin] chmod 6751 oracle
 Follow
Hi,
my hat’s off, very detailed and good explanation.
Thank you very much for sharing.
I have an identical configuration: Oracle RAC database as primary side and single instance database with asm as secondary side on DataGuard.
I would like to run rman backup against the secondary site, but I have some doubts in case of restore.
Do you know if exists a best practices for this?
I mean nothing hard for backup, but in case of a restore (without disaster) should I restore on the secondary site and then sync? Or should I restore with redirect on primary site?
Thank you for your time.